Generate Your First AI Icon Set
Now that you're comfortable inside IconSprint, it's time to walk through a complete generation cycle: from an initial idea to a downloadable icon bundle. The flow is fast, but spending a moment on each decision helps the AI land closer to what you need.
Turn your idea into a prompt
Start on the Icons page and open the Create New Icon modal. Decide whether you want to describe the icon's artwork directly or talk about the product it represents. Both modes produce strong results, so pick whichever makes it easier to explain the concept. Paint a short, vivid picture that includes the object, the vibe you're going for, and any must-have colors or shapes. If the blank field feels daunting, tap Suggest a prompt and tweak the draft that IconSprint provides until it sounds right.
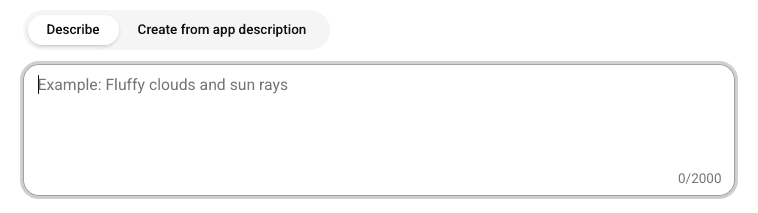
Keep the tone concise. One or two tight sentences usually outperform long paragraphs, and you can always regenerate if you want to explore an alternate angle.
Choose styles and quality
The style grid is where you steer the creative direction. Select one option to stay focused or mix up to five if you want several looks to compare. Hovering over each tile reveals a plain-language description that explains when it shines. Clean for crisp apps, Gradient for modern gloss, 3D for something more dramatic, and so on.
After you pick the styles, decide whether you need the Standard or HD quality tier.

HD consumes twice the credits but produces sharper details. The credit counter at the bottom updates immediately so you always know the cost before you commit.
Set variants and backgrounds
IconSprint includes the standard light variant by default. You can layer on dark, tinted, and mono options with a single click.
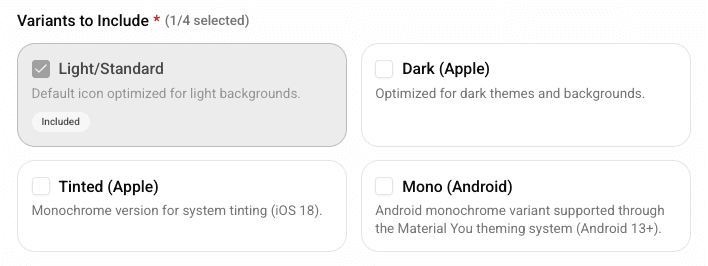
They don't cost extra, so add anything your product roadmap requires. If you already know the background colors you'll need, set them here so the PNGs arrive ready for presentation. Prefer transparent assets? Leave the fields untouched and IconSprint will generate clean cutouts.
Submit and follow progress
When everything looks good, submit the form. The modal closes, the dashboard refreshes, and the status panel at the top begins reporting on your request. You'll see when the job leaves the queue, how many styles have finished, and roughly how long the rest will take. If you change your mind while the request is still waiting, use the cancel button that appears after a short delay. Any unused credits stay in your balance.
Inspect and fine-tune
Completed icons show up at the top of the grid. Open one to explore the detail view. The Preview tab lets you see the asset on iOS and Android mockups, while Edit gives you room to adjust platform-specific settings.

The original prompt lives in the header dialog if you want a reminder of what you asked for. Use these observations to decide whether to keep the result, try another style, or tweak the description and run it again.
Download and share
When you're ready to ship the asset, click Download bundle. IconSprint packages every selected variant, background, and required size into a single ZIP so you can hand it off without extra tooling. You'll also find a timestamped entry in Settings → Credits → Usage, which makes it easy to track what each run produced and how many credits it consumed.
Your first icon set is now complete. 👏🏼
As you continue experimenting, check out Manage Icon Variants to keep evolving work organized, or loop back to the prompt step and explore new angles with the styles you liked best.